PyCharm#
Note
These instructions refer to Anaconda Distribution exclusively, but will also work with Miniconda.
PyCharm is an IDE that integrates with IPython Notebook, has an interactive Python console, and supports Anaconda as well as multiple scientific packages. PyCharm also supports creating virtual environments for Python with conda.
Tip
More of a visual learner? Sign in to Anaconda Cloud to follow along with our Create a simple Python program with PyCharm!
Configuring a conda environment in PyCharm#
Python projects often require specific setups, with access to different versions of Python and different packages and their dependencies. Conda environments can be used with PyCharm projects to ensure that each of your projects are being built and run to the exact Python specifications that they require.
You can create a new conda environment when you create a new Python project in PyCharm, configure an existing conda environment for a new project, or switch conda environments within a project that already exists.
Creating a new conda environment from a PyCharm project#
PyCharm creates a basic conda environment for you (with a selected Python version) as part of the initial project setup, and links your PyCharm project to that environment.
After opening PyCharm, click New Project.
In the New Project screen, create the project name and its location.
To have your project under Git version control, select Create Git Repository.
To add the main.py file to your project, select Create welcome script.
Note
The welcome script file contains a very simple Python code sample and can be a starting point for your project.
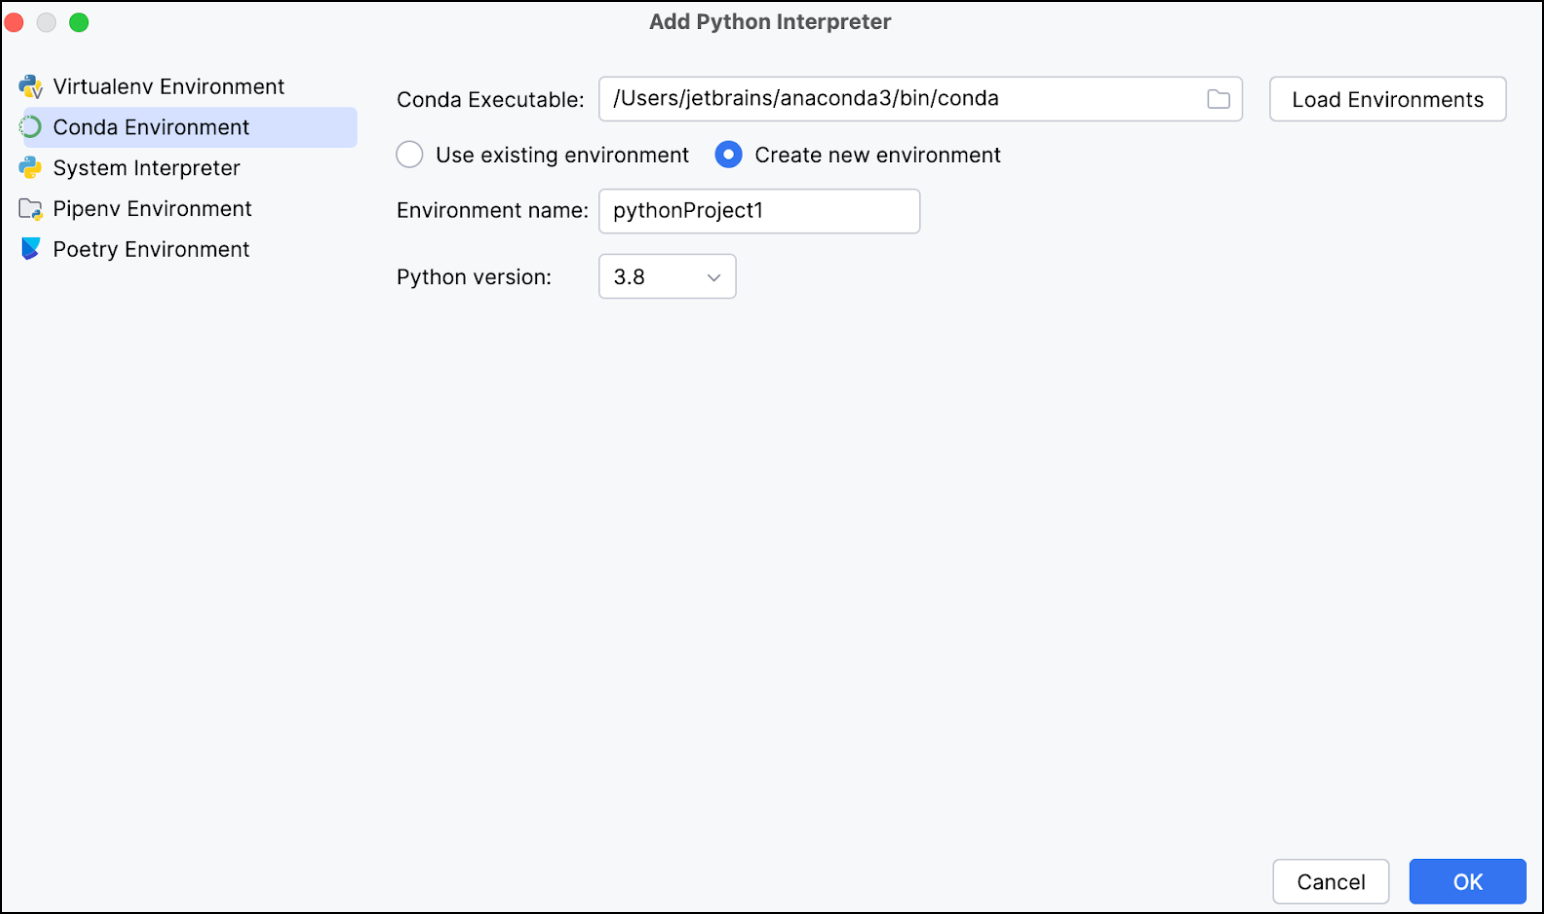
Select Custom environment, then select Generate New.
From the Type dropdown, select Conda.
From the Python version dropdown, select the Python version you want.
Create your environment name.
Typically, PyCharm will detect the conda installation. If not, you can specify the conda location in the Path to conda field.
Click Create to create the PyCharm project and conda environment.
You can check that the conda environment was created by using
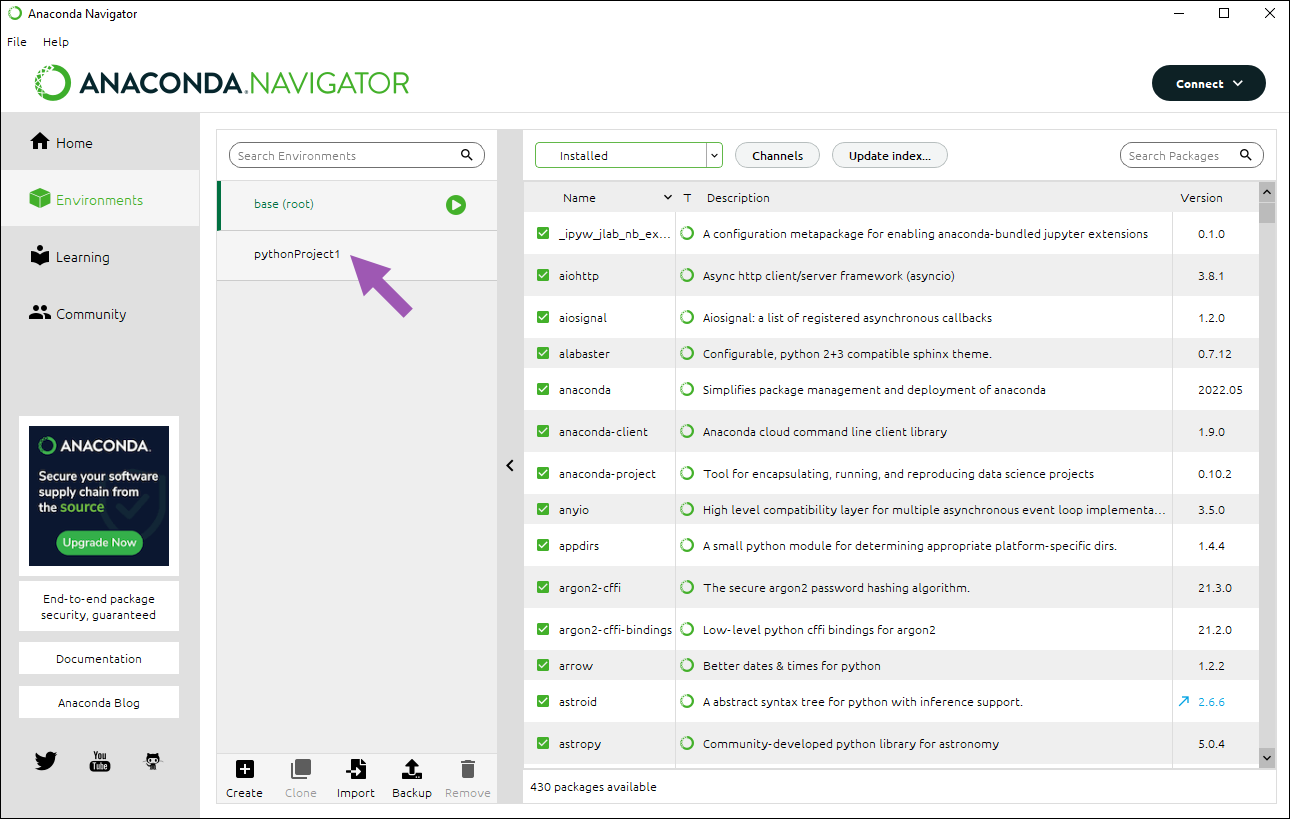
conda info --envsin your Terminal or Anaconda Prompt:conda info --envs # conda environments: base * C:\Users\doc\anaconda3 pythonProject1 C:\Users\doc\anaconda3\envs\pythonProject1
Or you can look at the Environments tab in Navigator to see the same information:

Configuring a PyCharm Project with an existing conda environment#
Let’s say you’ve already created a conda environment that you know will be perfect for your latest PyCharm project. You can easily link an existing conda environment to a project in PyCharm using the following instructions:
After opening PyCharm, click New Project.
In the New Project screen, create the project name and its location.
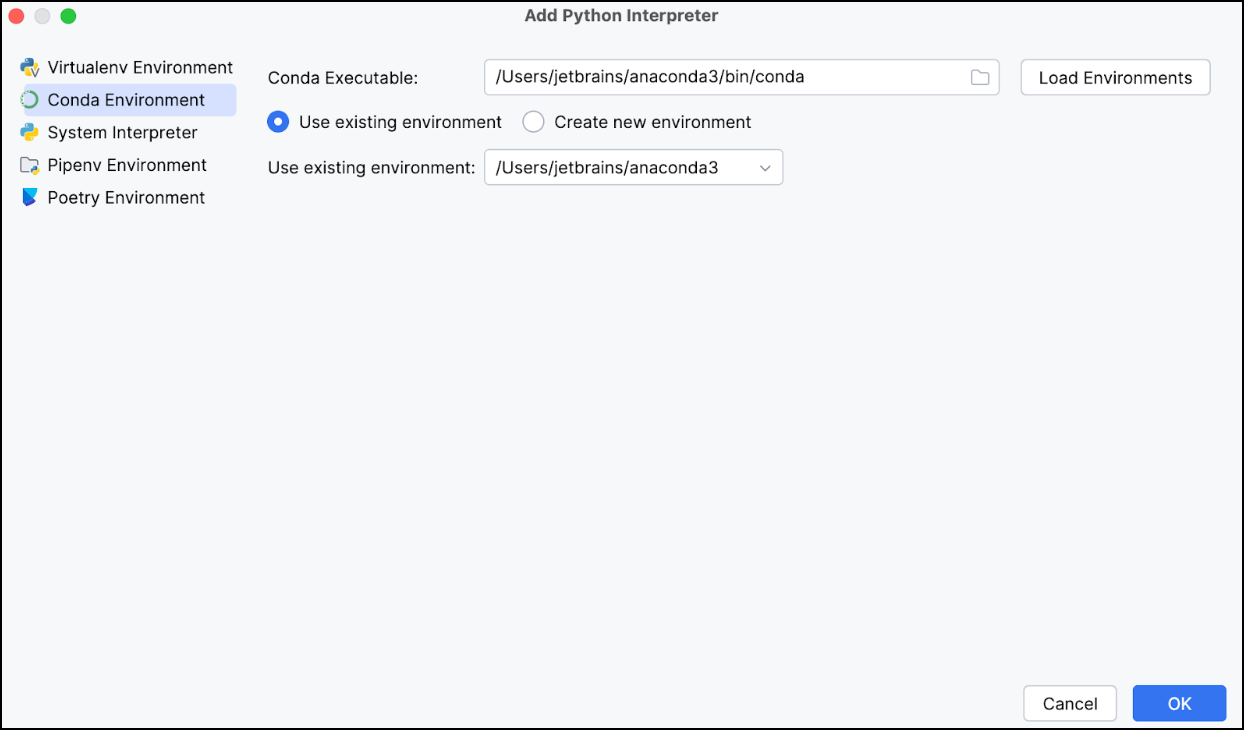
Select Custom environment, then Select existing.
From the Type dropdown, select Conda.
Typically, PyCharm will detect the conda installation. If not, you can specify the conda location in the Path to conda field.
Select the environment from the list of environments.
Click Create to finish creating your new project.
Switching environments within a PyCharm Project#
If you want to change the conda environment associated with an ongoing project, update the project environment preferences using the following instructions:
Open the PyCharm project associated with the conda environment you want to change.
Click IDE and Project Settings in the top-right corner of the screen, then select Settings.
Select Project: <PROJECT_NAME>, then Python Interpreter.
Select a new Python Interpreter by clicking Add Interpreter.
Click OK to finish changing your PyCharm project’s environment.
Adding a package to a project#
If you’ve added a package to your PyCharm project that is not within the standard Python library, you can add it to your project’s conda environment with PyCharm.
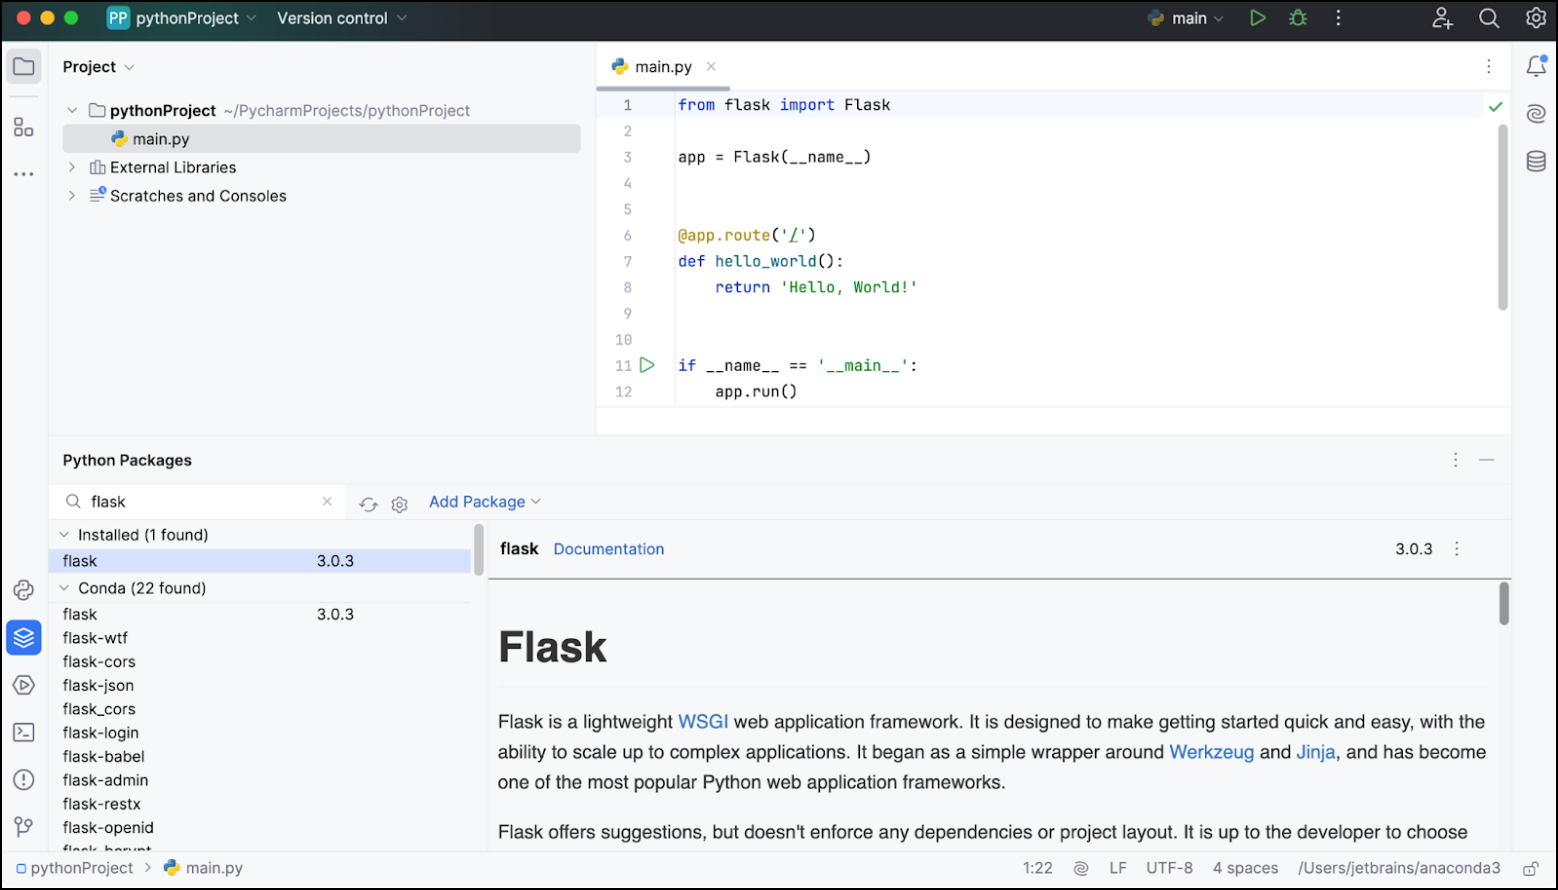
The project in this example uses the flask package.

You can see that the package import is red underlined in the code. If you hover over one of them, PyCharm tells you that the reference to flask is unresolved. That means that the package is not available to the program and needs to be installed.
Adding a repository to a project#
Sometimes packages you’re using in your PyCharm project won’t be available in any Anaconda default channels. To add a new repository to your PyCharm project, use the Python Packages tool window.
Go to View > Tool Windows > Python Packages.
Click the gear beside the search bar.
Click Manage Repositories
Click Add.
Enter the name of the repository.
Enter the repository URL.
If the repository is local, choose “None” for Authorization. Otherwise, choose “Basic HTTP” and enter your username and password for the repository.
For repositories like conda-forge, the easiest way to install packages is to use use Anaconda Prompt (Terminal on macOS/Linux). Activate your project’s environment and install the package.
# Replace <MY_ENV> with the name of the your environment
conda activate <MY_ENV>

# Replace <CHANNEL_NAME> with the name of the channel you are trying to source from
# Replace <PKG_NAME> with the name of the package you are trying to install
conda install --channel <CHANNEL_NAME> <PKG_NAME>
For more information on adding repositories to your PyCharm project’s conda environment, see the PyCharm documentation.


