Launch an Anaconda AMI on AWS#
Follow the steps below to launch Amazon Elastic Compute Cloud (EC2) instances using Amazon Machine Images (AMI) with pre-installed Anaconda products (e.g. Anaconda Distribution or Miniconda).
Log in to your AWS Management Console.
Subscribe to an Anaconda AMI product. (If you’ve already done this, skip to step 3.)
Go to Anaconda’s AWS Marketplace product page and select the product you want to use. Anaconda currently supports AMIs with the following specifications:
Architecture
Anaconda Product
AWS Marketplace Product Name
Linux/Unix x86_64
Miniconda
Linux/Unix aarch64/arm64
Anaconda Distribution
Linux/Unix aarch64/arm64
Miniconda
Linux/Unix x86_64
Anaconda Distribution
On the product’s page, click Continue to Subscribe.
Review and accept the terms. The subscription might take a few minutes to take effect.
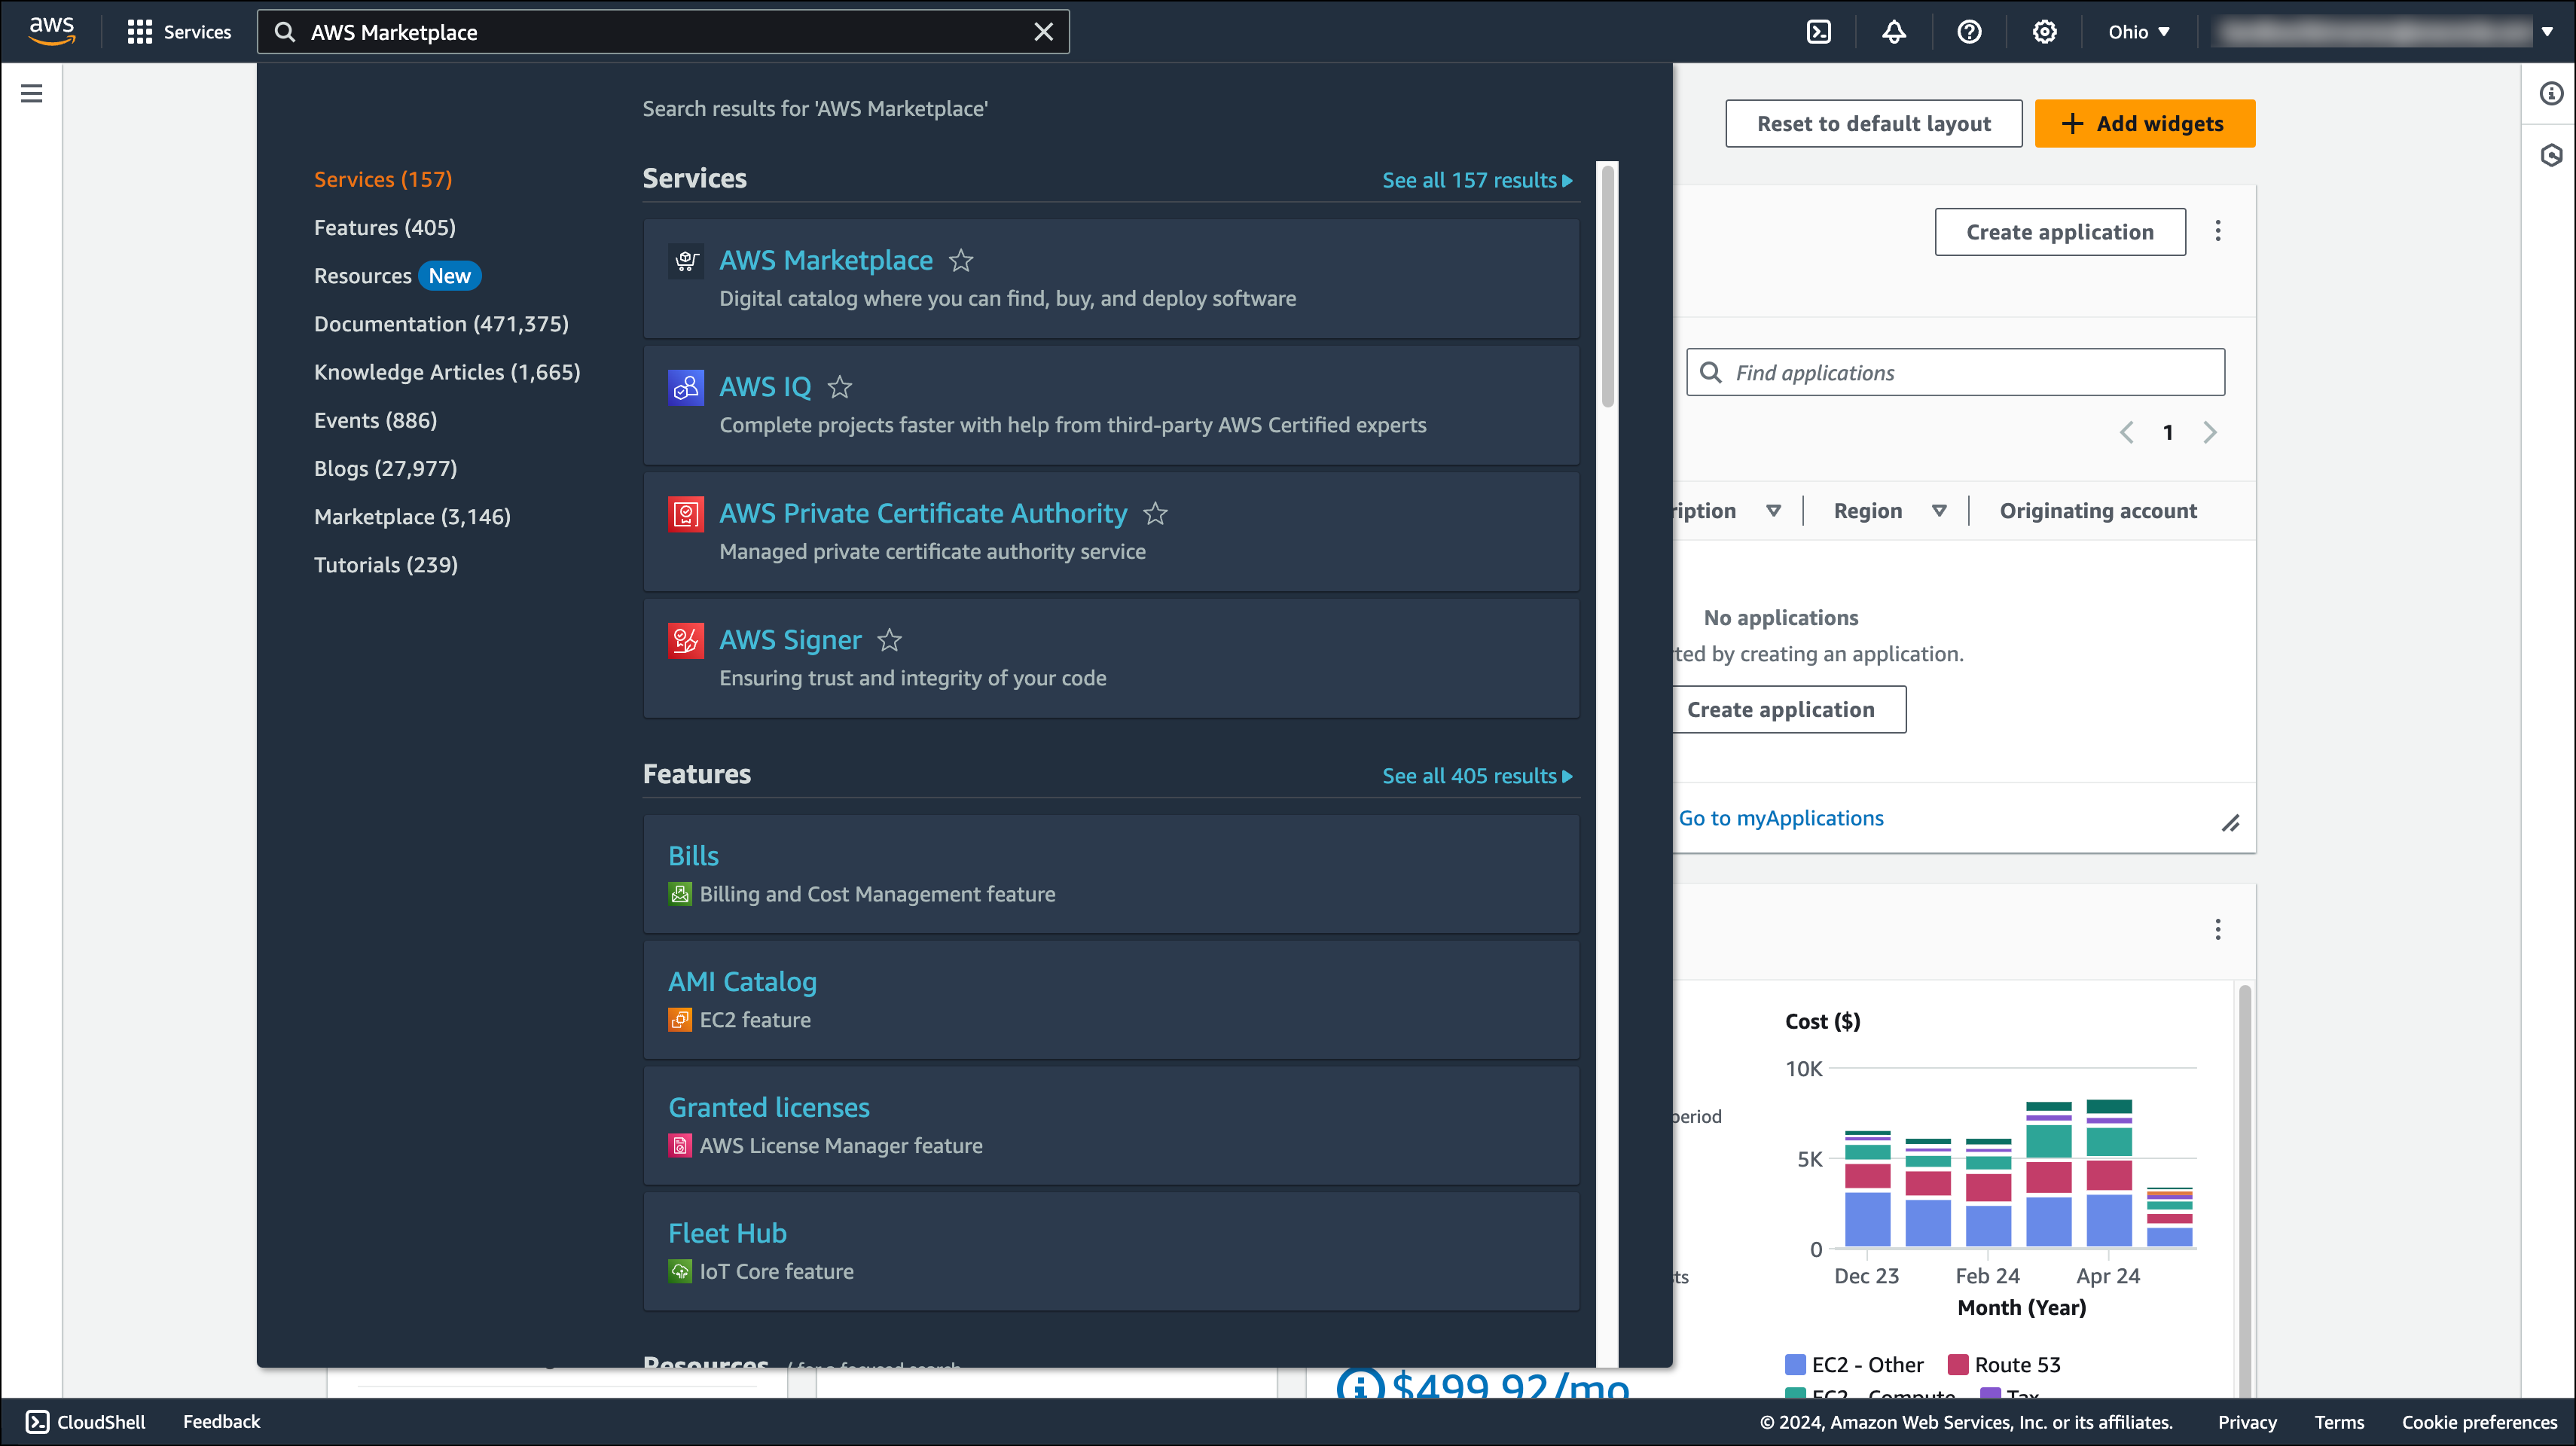
From the AWS Management Console, in the search field, enter “AWS Marketplace Subscriptions” and select the result.
On the Manage subscriptions page, find the Anaconda product you wish to launch and click Launch new instance.
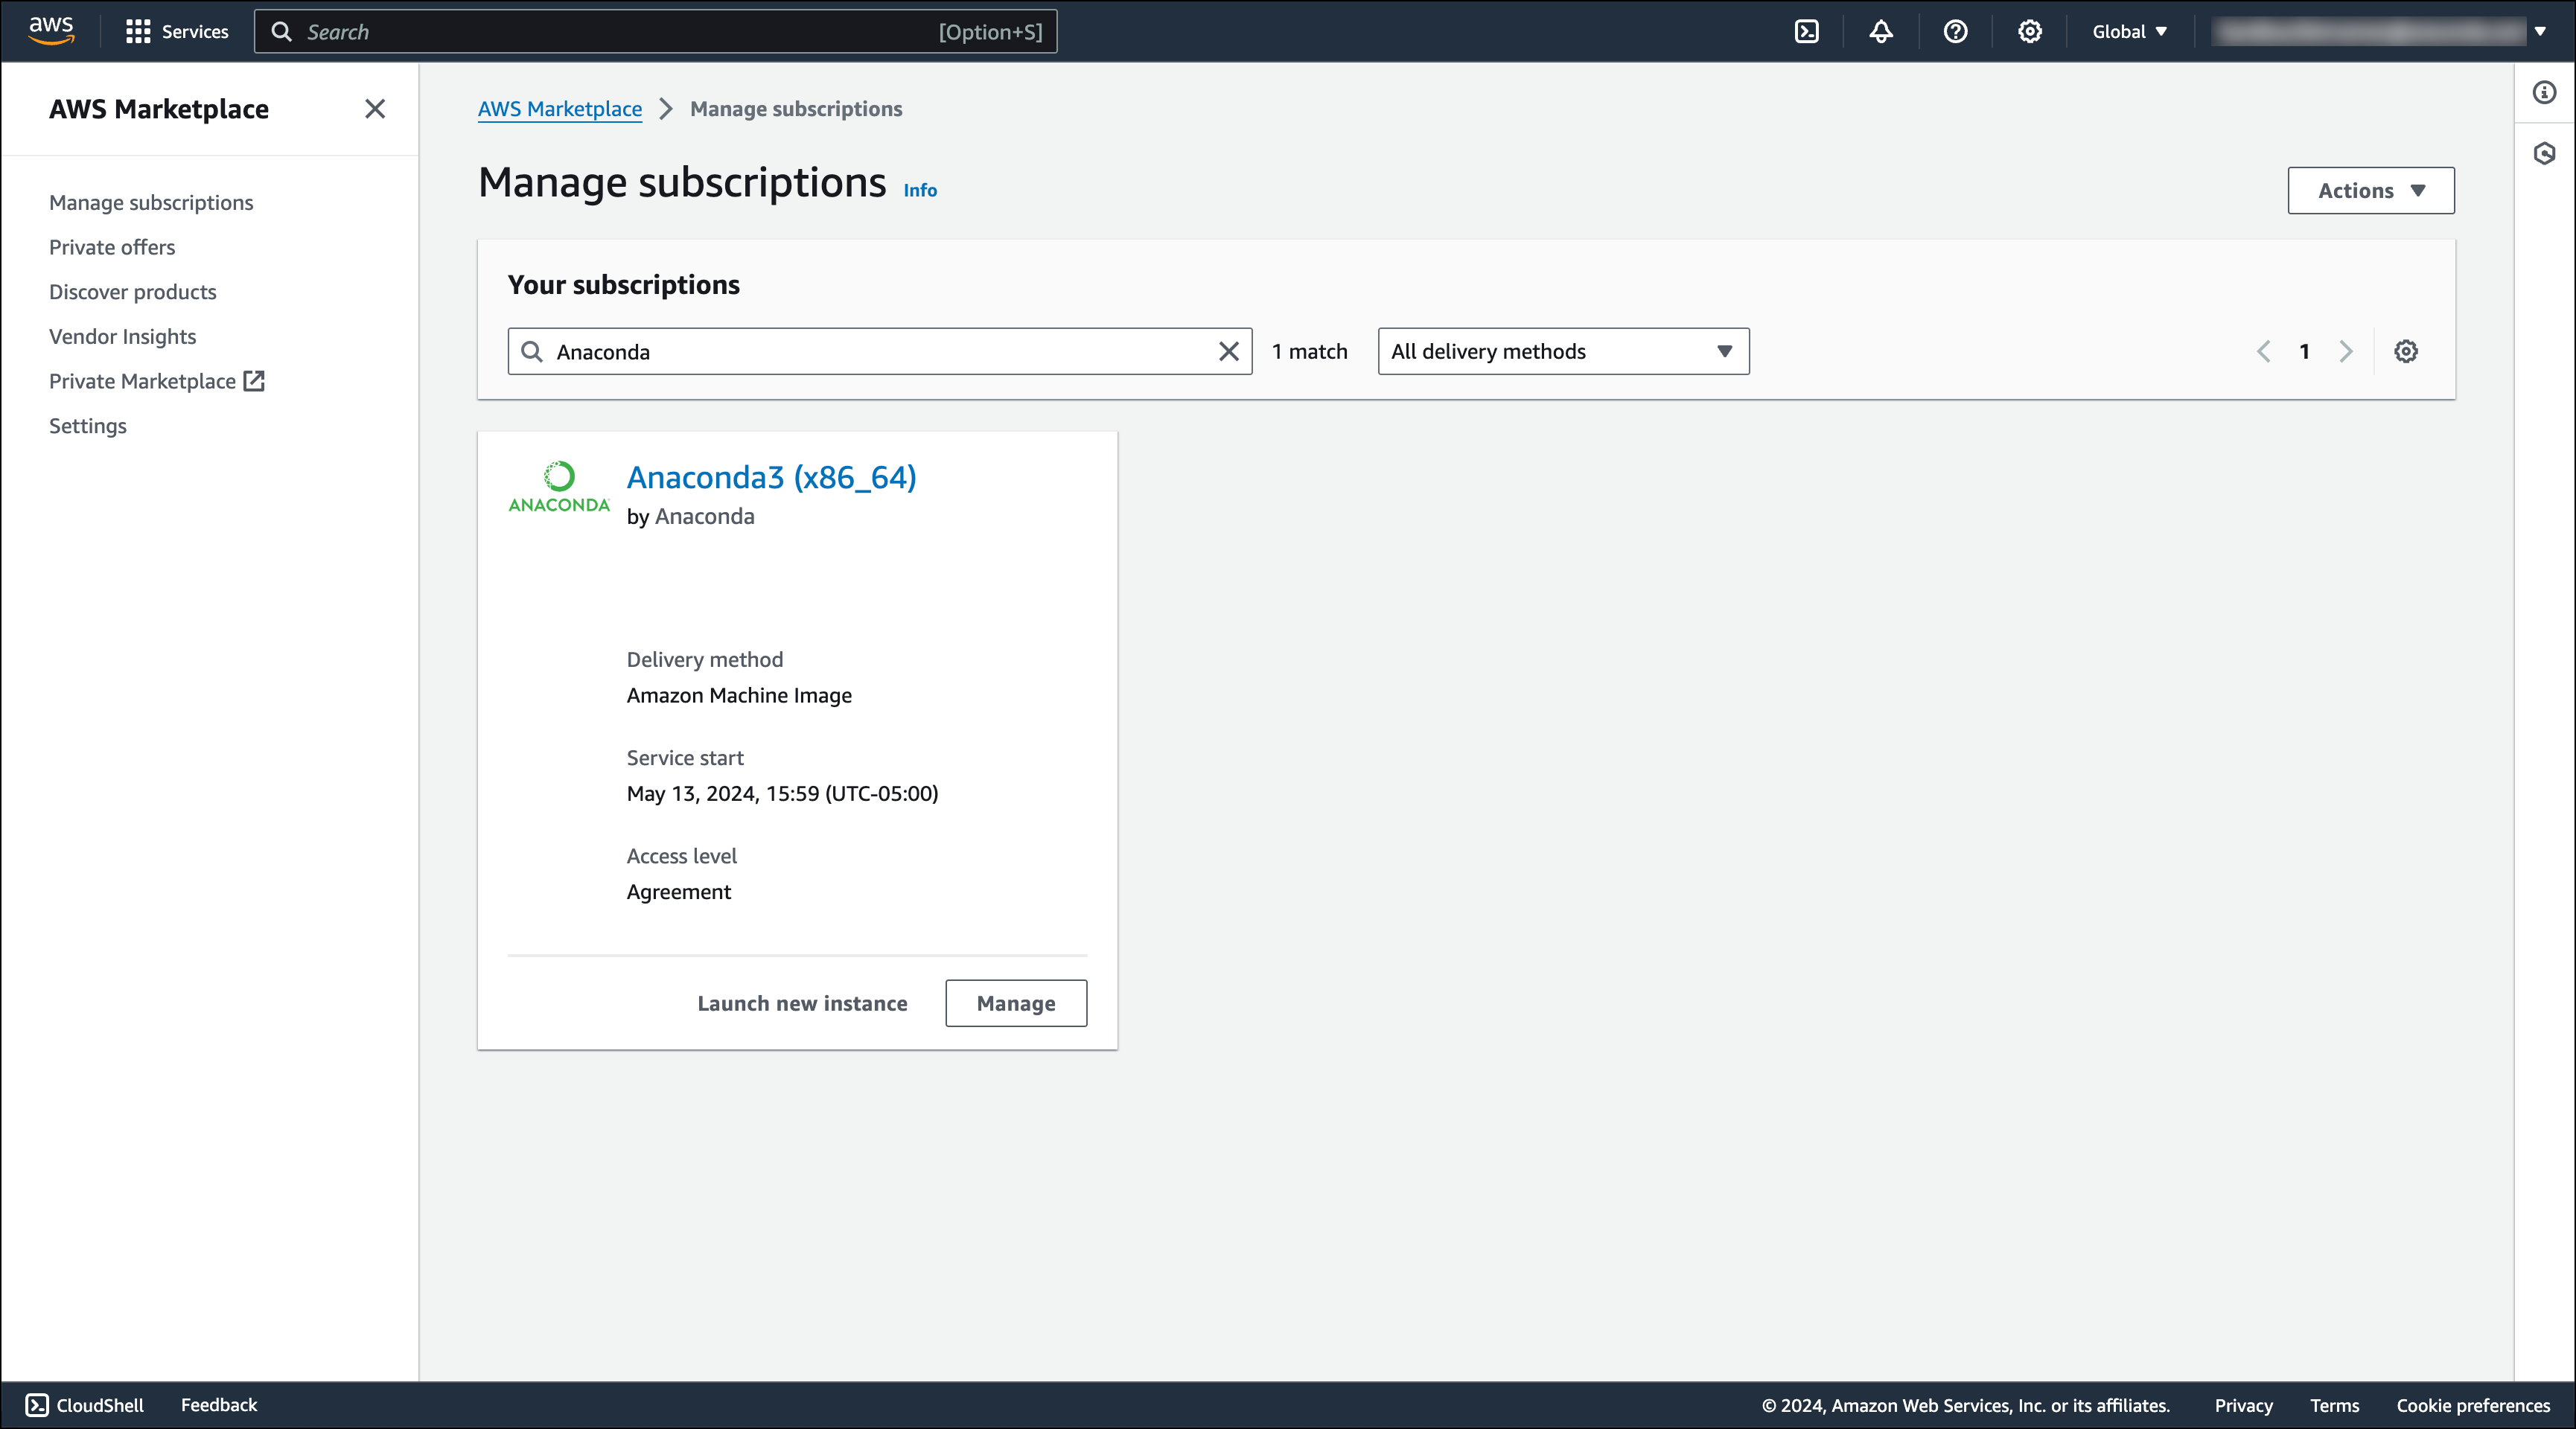
On the Launch new instance page, confirm the delivery method, software version, and your region. Then click Continue to launch through EC2.

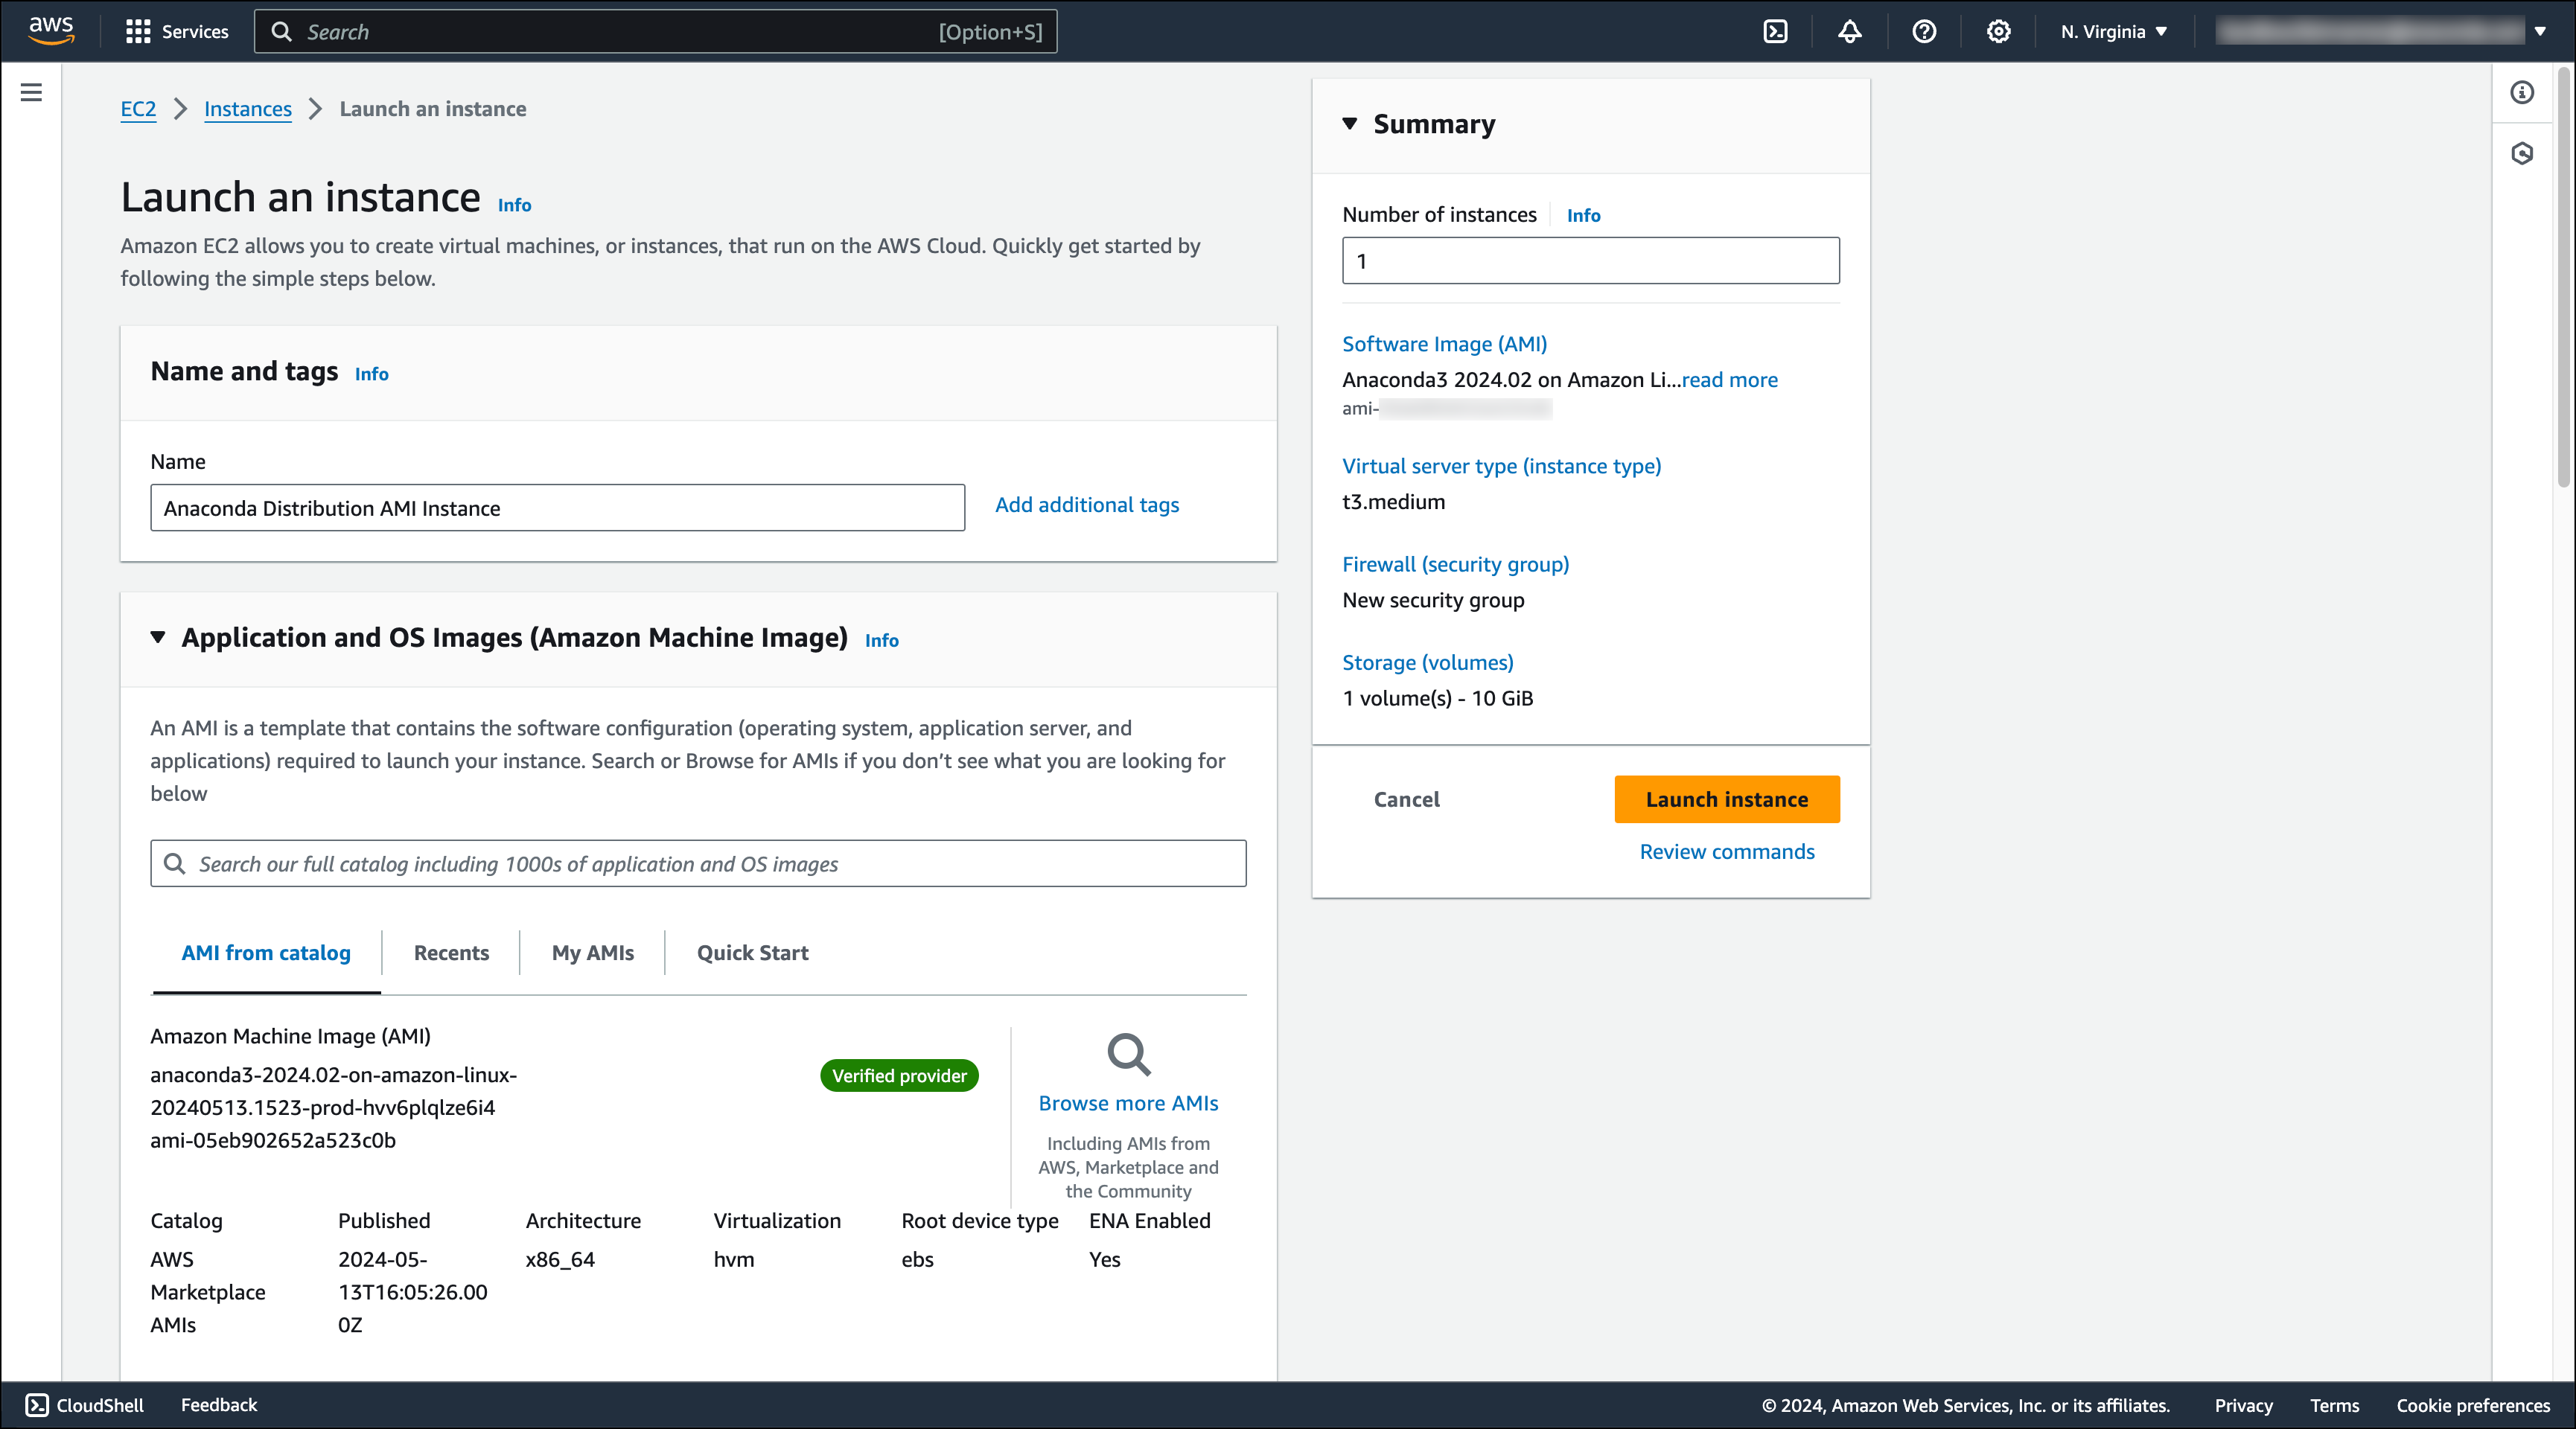
Name your instance and, optionally, select the remaining configuration details (e.g. instance type, login key pair, security, and storage). Review your configuration details in the panel to the right and click Launch instance when you are ready to launch the instance.
From the EC2 Dashboard, click Instances in your Resources pane to check the status of your instance.