Getting started#
Finding, downloading and installing packages#
You do not need to have an Anaconda Enterprise 4 Repository account or be logged in to search for, download, or install packages, notebooks, environments or installers.
You do need an account to access private packages without an access token and to upload and share your own packages, notebooks, environments and installers with others.
Searching for packages#
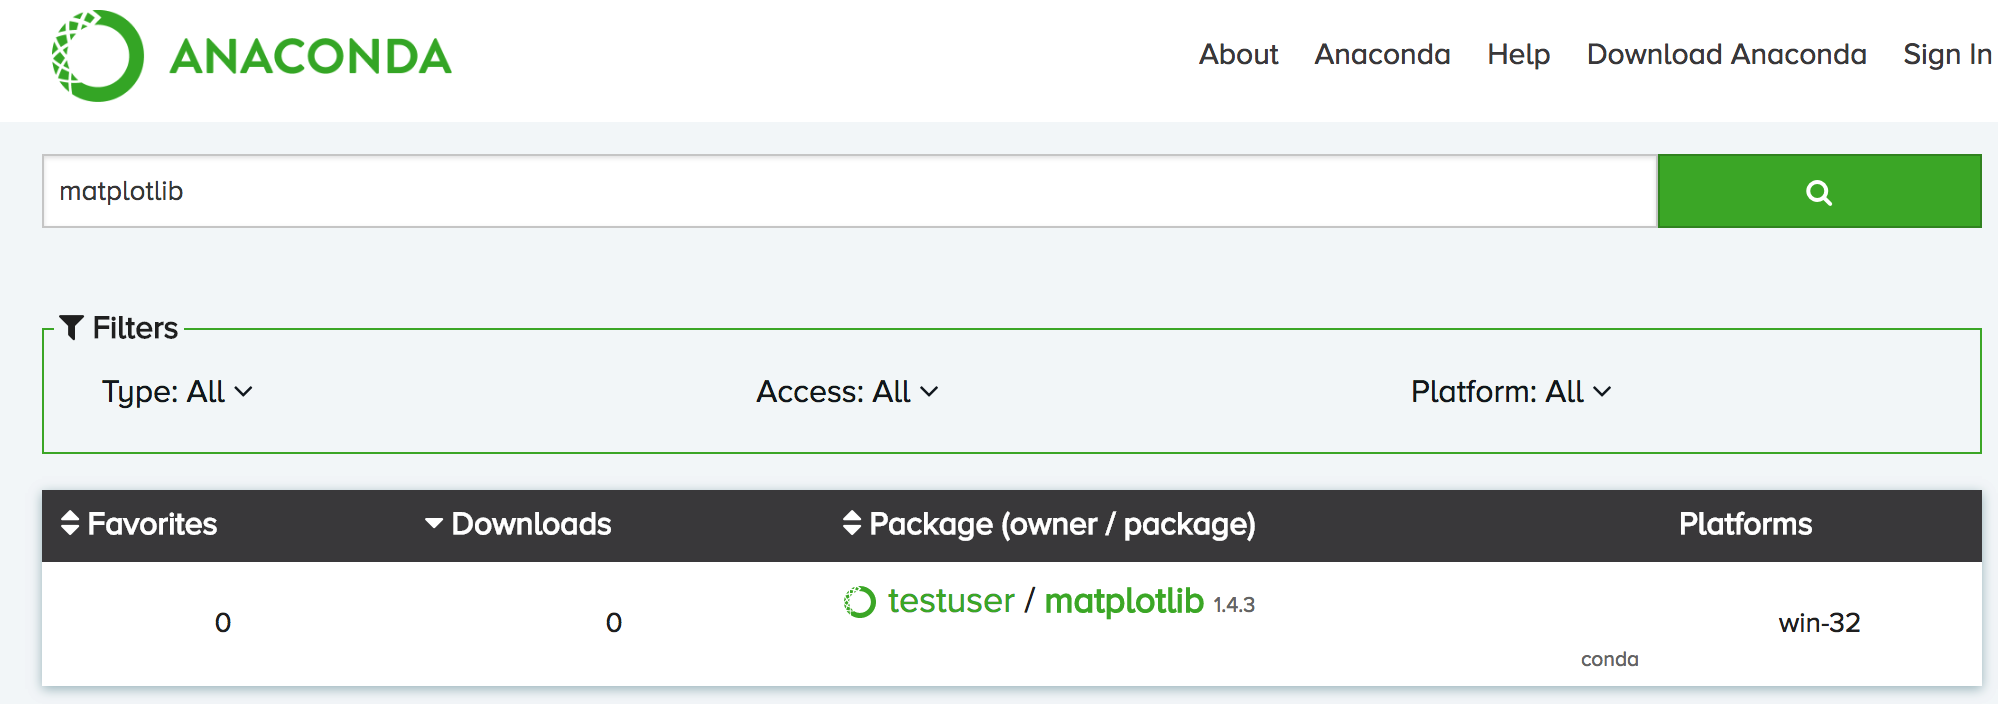
In the top Search box, type part or all of the name of a file you are searching for, and then press Enter (Windows)/Return (Mac).
Packages that match your search string are displayed. To see more information, click the package name.

Refining your search results#
You can filter search results using 3 filter controls:
Type: All, conda only or PyPI only.
Access: All, Public and/or Private—available only if you are logged in.
Platform: All, Source, Linux-32, Linux-64, Noarch, OSX-64, Win-32 and Win-64.
NOTE: Source packages are source code only, not yet built for any specific platform. Noarch packages are built to work on all platforms.
Downloading and installing packages from Anaconda Enterprise 4 Repository#
You can download and install packages using Anaconda Navigator, the graphical user interface for Anaconda®. Advanced users may prefer a Terminal window or an Anaconda Prompt.
Using conda in a Terminal window or an Anaconda Prompt#
Conda is automatically installed when you install Anaconda.
To download and install a package into its own environment:
Locate a package on Anaconda Enterprise 4 Repository that you want to download, then click the package name.
A detail page displays specific installation instructions for the current operating system.
Enter the command into your Terminal window or Anaconda Prompt.
EXAMPLE: To download and install a package with conda:
conda install -c USERNAME PACKAGE
TIP: Conda expands
USERNAMEto a URL such ashttps://<your-anaconda-repo>/USERNAME, based on the settings in the.condarcfile.
Building and uploading new packages#
Building and uploading new packages is optional, and best suited for advanced users who are comfortable using a Terminal application. It requires the anaconda-client, which is easy to get if you have installed Anaconda.
Use Terminal window or Anaconda Prompt to run the following command line commands.
To build and upload packages, first install the Anaconda Client CLI:
conda install anaconda-client
Log in to your Repository account:
anaconda login
At the prompt, enter your Repository username and password.
Choose the package you would like to build. For this example, you can download our public test package:
git clone https://github.com/anaconda-platform/anaconda-client
cd anaconda-client/example-packages/conda/
To build your test package, first install conda-build and turn off automatic Client uploading, then run the
conda buildcommand:conda install conda-build conda config --set anaconda_upload no conda build .
Find the path where the newly-built package was placed, so that you can use it in the next step:
conda build . --output
Upload your test package to your Repository account:
anaconda login
anaconda upload /your/path/conda-package.tar.bz2
NOTE: Replace
/your/path/with the path you found in the previous step.
For more information, see Working with conda packages.
Viewing notebooks#
You can view an HTML version of your notebook in Anaconda Enterprise 4 Repository. Log in to your account, then from the drop-down menu of the view button, select Notebooks. Click the name of the notebook you want to view.
You can also view an HTML version of your notebook directly from:
http://<your-anaconda-repo>/USERNAME/my-notebook
NOTE: Replace <your-anaconda-repo> with your Repository
name, USERNAME with your username and my-notebook
with the name of your notebook.
Anyone who has anaconda-client and access to Repository can download your notebook. To download the notebook, open Anaconda Prompt or Terminal and enter:
anaconda download USERNAME/my-notebook

