Chat#
The Chat feature of Anaconda AI Navigator enables users to interact with a locally downloaded model. The chat interface is mainly intended to provide you with a space to evaluate how different models handle specific tasks and scenarios. If the model you are using isn’t responding to your test prompts in a helpful way, try a different model. Once you see some success with a particular model, you can load it into the API server and test your own applications against it to see how the model handles your users’ input.
Loading a model#
Load a model you’ve downloaded into the chat interface to interact with it. To load a model:
Select Chat from the left-hand navigation.
Open the Specify Model dropdown and select your model.
Open the Specify File dropdown and select your model file.
Note
If you only have one file for the model, it is automatically loaded into the chat interface.
You can switch between models that you have downloaded at any time during a chat.
Starting a new chat#
All chats are initially created as New Chat <#>, but are topically renamed based on your initial prompt to the model.
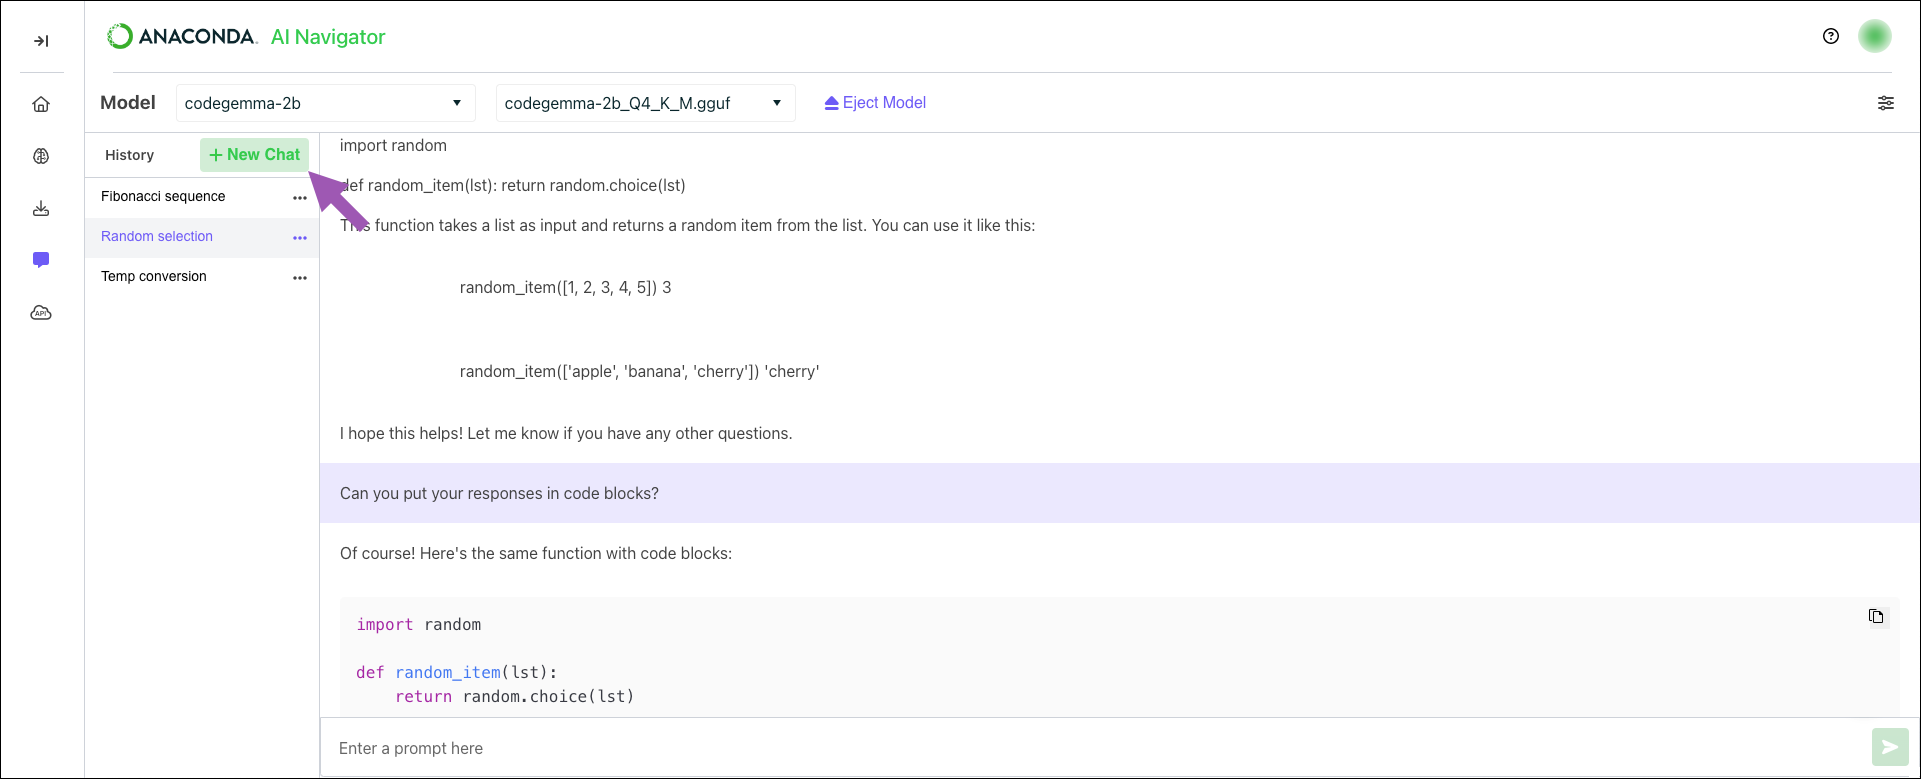
To start a new chat:
From the Chat page, click New Chat.
If necessary, load a model into the chat interface.
Enter a prompt to chat with the model.
Stopping a response#
Sometimes a model can start generating a lengthy and off topic response to a prompt. To stop the model from generating its response, click Stop in the prompt field.
Renaming a chat#
You can provide a specific name to a chat at any time. To rename a chat:
From the Chat page, open a chat’s actions dropdown and select Rename.
Enter a name for your chat.
Note
Chat names over 27 characters are truncated.
Deleting a chat#
To delete a chat:
From the Chat page, open a chat’s actions dropdown and select Delete.
Click Delete Chat.
Chat settings#
Chat settings allow you to fine-tune how the model responds during user interactions.
Once you have loaded a model, click Settings to open the chat settings. Customize the responses from your model by adjusting the following parameters:

System Prompt - Sets the overall tone and behavior for the model before any user input is provided as a prompt. The system prompt is a hidden instruction that establishes the model’s persona. For example, you could instruct the model to act as a data analyst, a python developer, or to adhere to a formal tone. For more information, see Crafting effective system prompts.
Maximum Response Length - Adjusts how long the model’s responses can be. Short responses are best suited for succinct answers or summaries of information, while longer responses are better for detailed guidance.
Tip
Select the Let the model decide checkbox to allow the model to determine when it has fulfilled the prompt request adequately.
Context Length - Defines how much of the ongoing conversation the model can recall. A higher context length allows the model to keep track of more conversation history, which is beneficial for extended discussions. However, this can increase RAM usage and slow down inference, as the model processes more and more history. A lower context length can provide faster responses and reduce memory usage by considering less history.
Temperature - Controls the level of randomness in the model’s responses. This can help the model to feel more or less creative in its responses. A lower temperature makes the model’s replies more deterministic and consistent, while a higher temperature introduces variability, allowing the model to produce varied answers to the same prompt.
Tip
Click Reset at the top of the Settings panel to return to system defaults.