Installing the AEN compute node(s)#
Compute nodes are where projects are stored and run.
Adding multiple AEN compute machines allows you to scale-out horizontally to increase capacity. Projects can be created on individual compute nodes to spread the load.
Repeat this procedure on each compute machine.
Setting variables and changing permissions#
Run:
export AEN_SERVER=<FQDN HOSTNAME OR IP ADDRESS> # Use the real FQDN
chmod a+x aen-*.sh                # Set installer to be executable
NOTE: Change <FQDN HOSTNAME OR IP ADDRESS> to the actual fully qualified domain hostname or IP address.
NOTE: You must perform the entire procedure before closing the terminal to ensure the variable export persists.
Running the AEN compute installer#
Run:
sudo -E ./aen-compute-4.3.1-Linux-x86_64.sh -w $AEN_SERVER
...
...
PREFIX=/opt/wakari/wakari-compute
Logging to /tmp/wakari_compute.log
Checking server name
...
...
Initial clone of root environment...
Starting Wakari daemons...
installation finished.
Do you wish the installer to prepend the wakari-compute install location
to PATH in your /root/.bashrc ? [yes|no]
[no] >>> yes
Restart the AEN Server#
Once configured, restart the AEN server:
sudo service wakari-server restart
Configuring your compute node(s)#
Once installed, you must configure the compute launcher on your server:
In your browser, go to your AEN server.
Log in as the AEN_SRVC_ACCT user.
In the AEN navigation bar, click Admin to open the Admin Settings page.
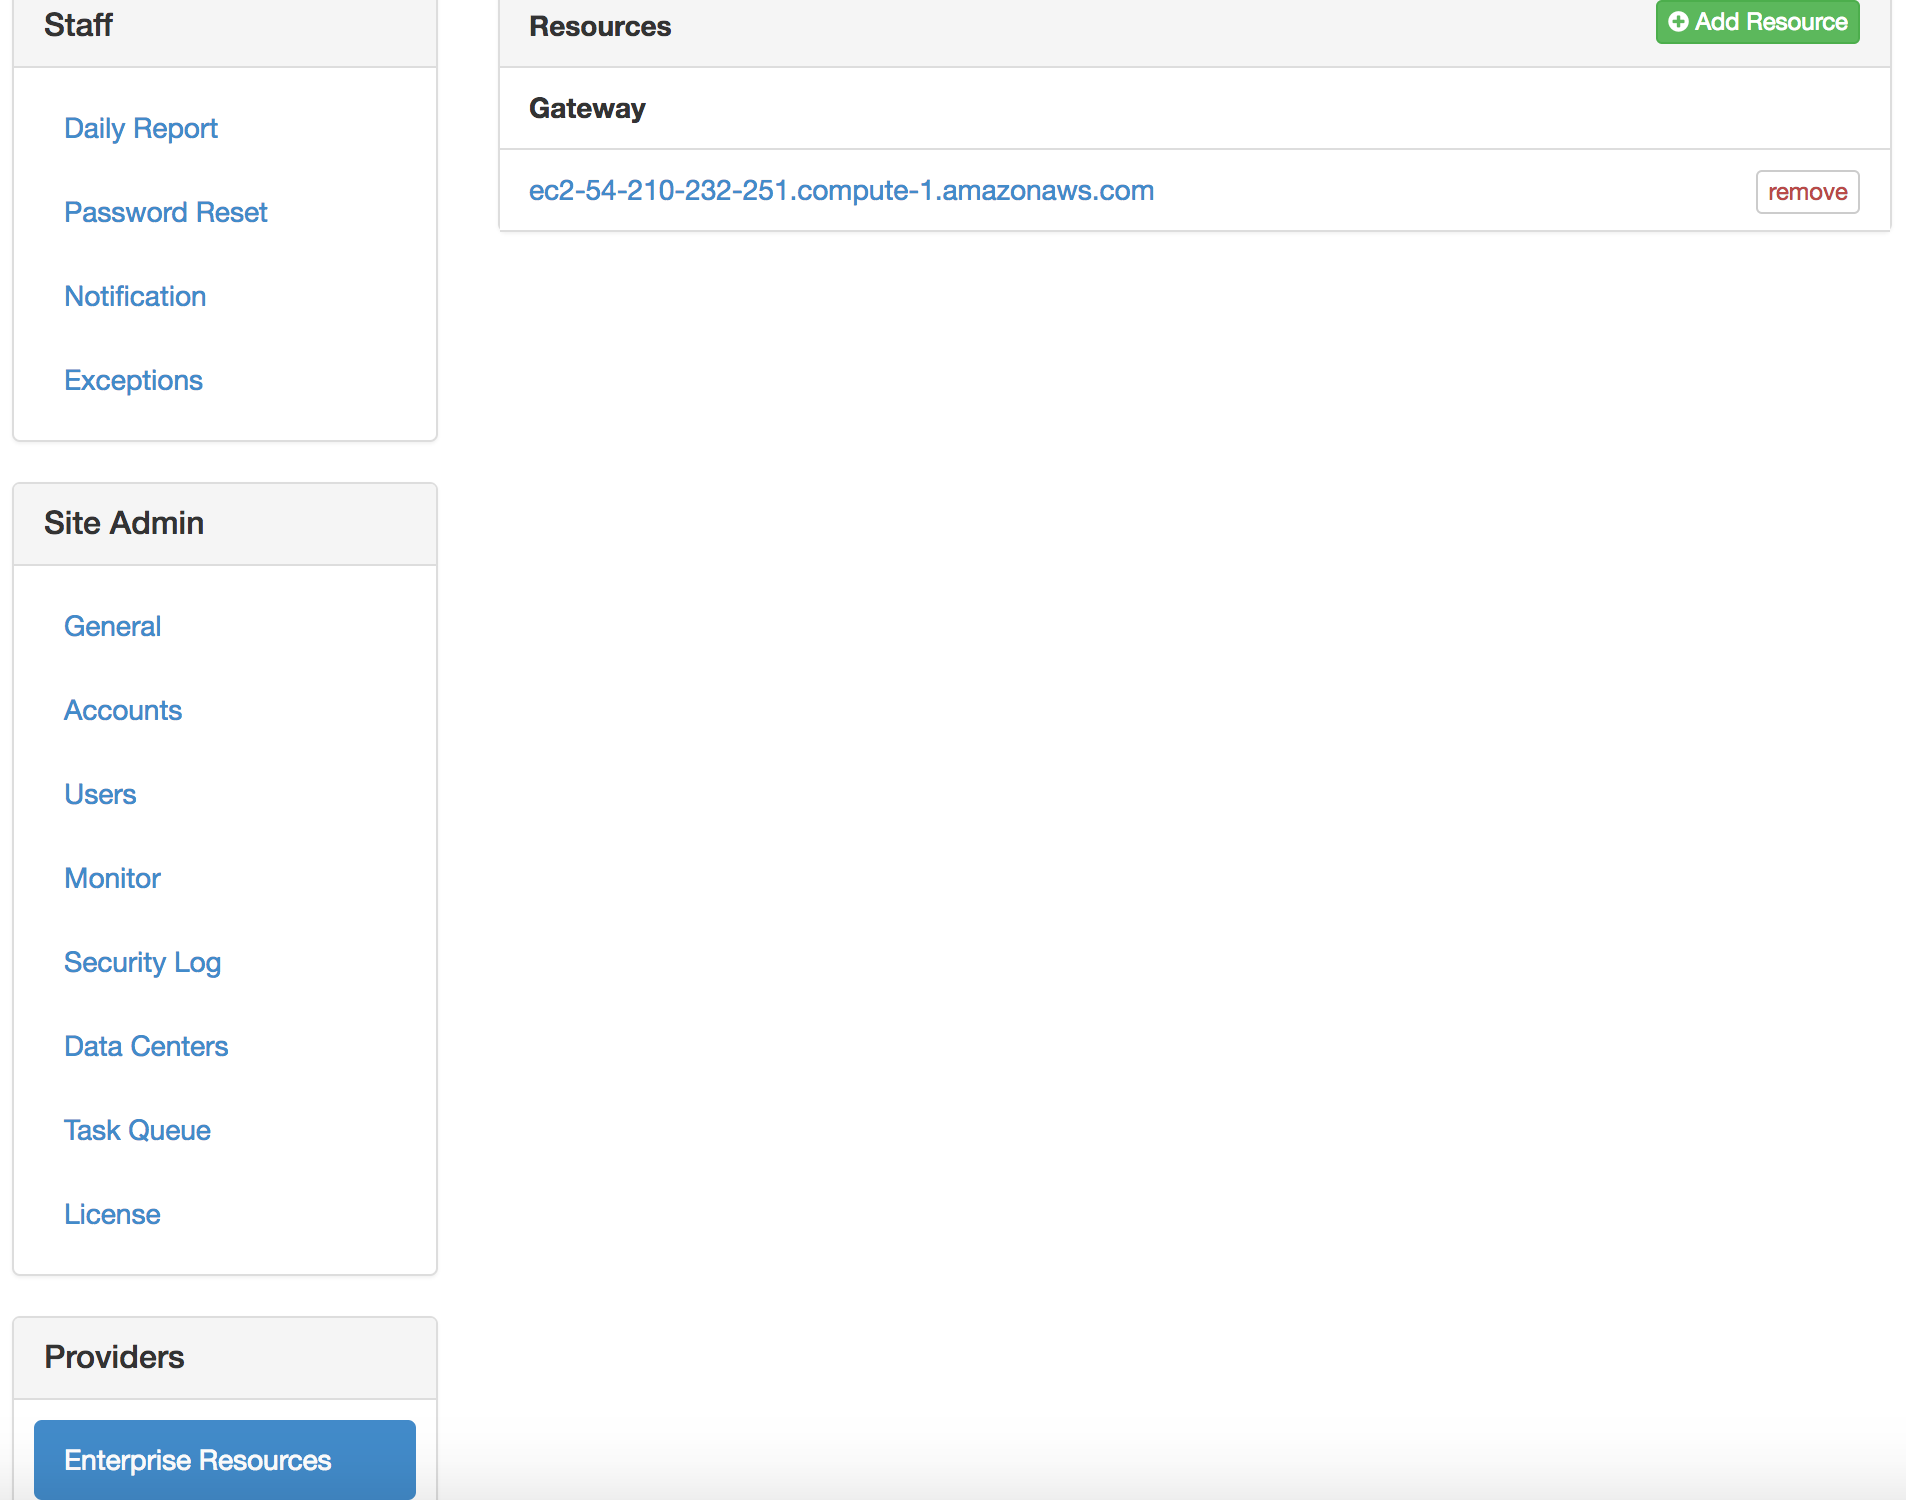
In the Providers menu, select Enterprise Resources:

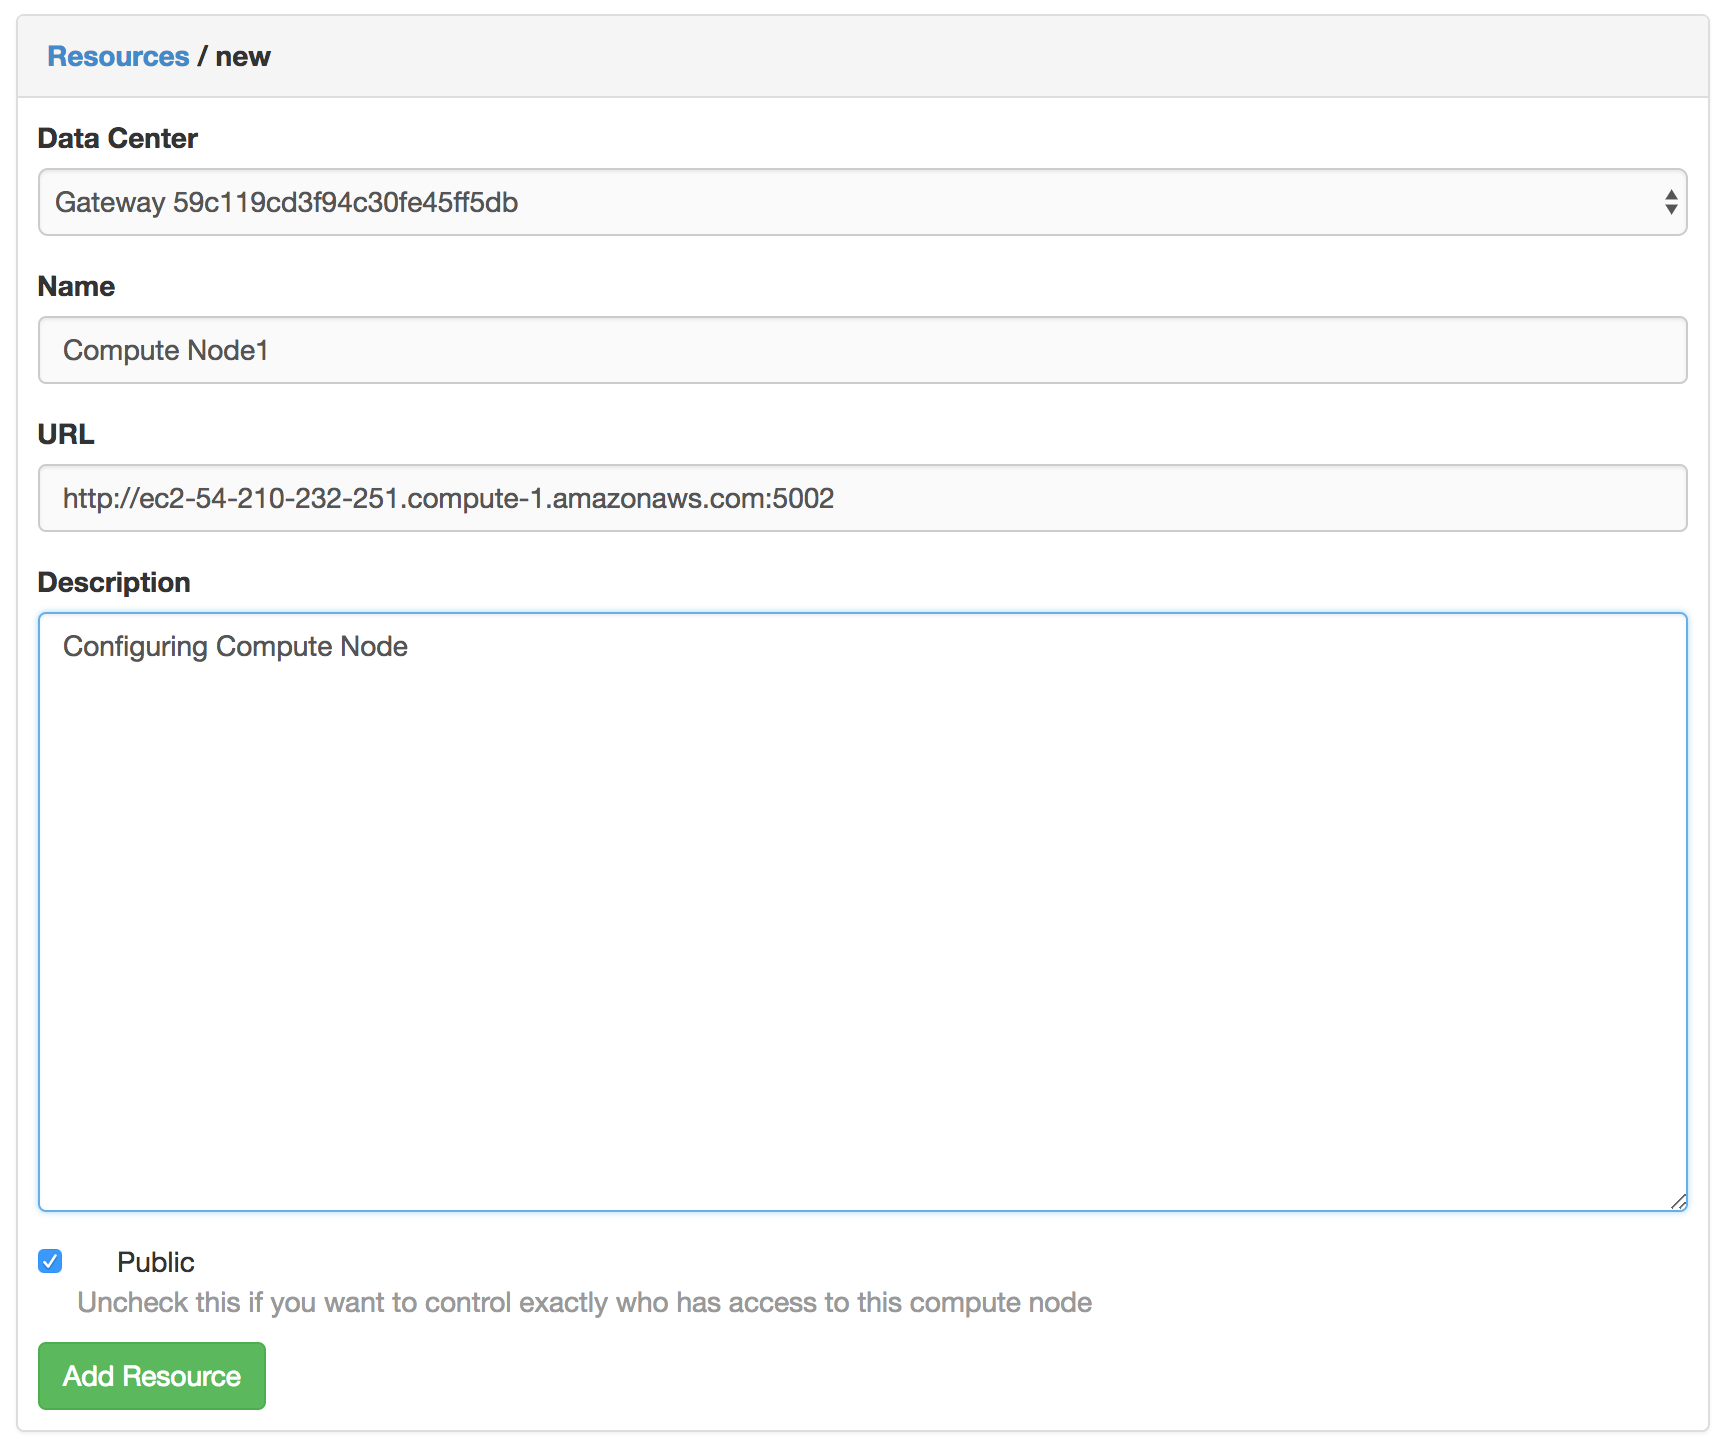
Click the Add Resource button to open the new resource form.
Select the data center to associate this compute node with.

In the URL box, type:
http://$AEN_COMPUTE:5002.NOTE: If the compute launcher is located on the same box as the gateway, we recommended that you type
http://localhost:5002instead.Type a Name and Description for the compute node.
Click the Add Resource button to save the changes.
Your AEN compute node is configured.